March 8, 2012

Lightbulb Necklace Tutorial

Hey everyone! I love necklaces made out of random objects, so today I'm going to show you how to make this really easy lightbulb necklace. Enjoy!

Supplies Needed: a small lightbulb, wire, pliers, some type of glue (super glue, hot glue, mod podge, etc.), and a chain to go around your neck.

Using your pliers, wrap your wire around the end of your lightbulb and make an arch at the very top. This may take some time to get it just right.

Cover with some type of glue, I used Mod Podge.

Thread your chain through the arch you made with the wire.


Now you have a snazzy new necklace! Hope you liked my tutorial!  -Lynn :)

March 4, 2012

Mini Cheesecake Tutorial

Hey everyone! I made these really simple, no-bake, mini cheesecakes last night! The best part is, they're pretty good. :) So here's how you make them:


What you'll need: 1 package (11.1 ounces) Jell-o No Bake Cheesecake, 2 tablespoons sugar (not pictured), 1/3 cup butter or margarine (not pictured), 1 1/2 cups cold milk (not pictured), melted chocolate (optional), paper baking cups.

1. Melt butter. Combine crumbs from mix, sugar and butter in a medium bowl and mix thoroughly with a fork until well moistened.

2. Press onto the bottoms of 12 paper-lined muffin cups. I found a plastic spoon to work best for this.

3. Mix milk and filling mix in a medium bowl, I used a large spoon, but you can also use an electric mixer.

4. Pour, or scoop, mixture into muffin cups. 

5. Drizzle melted chocolate on top, if desired. Then stick them in the refrigerator for at least an hour.

By the way, if you have leftover crumb mix, try dipping some in melted chocolate. It's really good. :)

Make sure you clean up your mess! Haha, I sound like my mom. Anyway, enjoy you're mini cheesecakes!  -Lynn :)

March 3, 2012

Outfit of the Day

Hey! So, I decided to dress for the warm weather because I'm hoping spring will be here soon! :) Okay, so my skirt was a hand-me-down (I sure love my hand-me-downs!), my shirt and shoes are from Goodwill, my scarf was a gift to me from my aunt, and I clipped a flower on it, then I pulled my hair up in a loose ponytail. My sister, Lucy, took all my pictures! By the way, don't you just love the random bird??  -Lynn :)

Oh, Hey!

Hey!
Its Kaitlyn. I feel like I haven't posted here in over a year. Haha, I'm a poet and didn't know it! :) I am on my moms computer right now, because as you may know, I am having computer issues. My laptop charger broke totally, therefore I cannot post anything until I order a new one or go & see if Best Buy sells it individually. I hope to be back in the next week or so, but if I'm not, you'll have to stick with Lynn's posts. But thats okay, right? I am hopefully going to Best Buy tomorrow and seeing if they have my charger, if they don't I have to order it from Amazon, and they are pretty quick about shipping. :) I just wanted to say hi & I hope to be back soon! :)
Love,
Kaitlyn♥

March 2, 2012

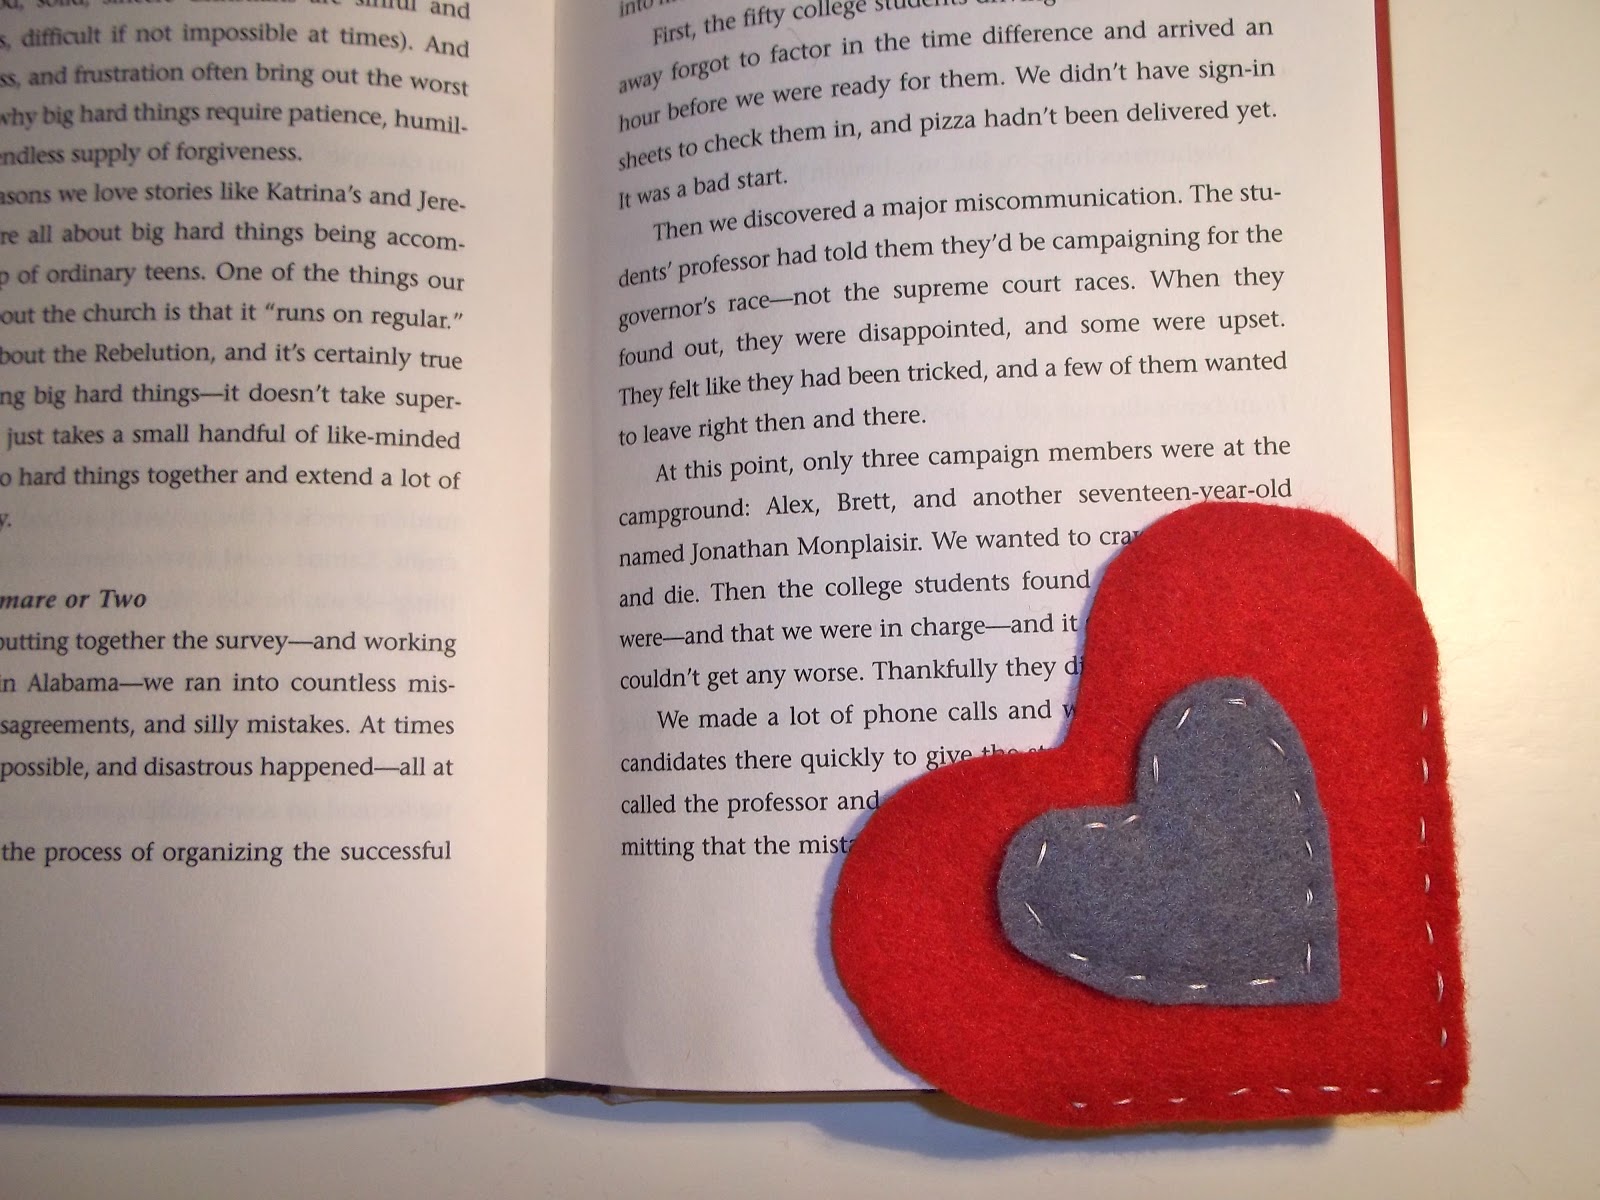
Heart Bookmark Tutorial

I learned how to make this really cute bookmark here via Pinterest, but I decided to make my own tutorial. :) Enjoy!

Supplies Needed: Felt, Scissors, Chalk (or any writing utensil), Needle and Thread. 

1. Fold your felt to make a triangle.
2. Using your chalk/writing utensil, draw half a heart onto your felt.
3. Cut out your heart.
4. Make another heart the exact same size.
5. Lay your hearts on top of each other and sew the bottoms together. You might have to test it on a book to see how far up you need to sew.
6. Decorate your heart however you want, and slip it onto the corner of your book! 

Now you have an awesome bookmark! Hope you liked my tutorial!  -Lynn :)
 

Template by BloggerCandy.com